I am building an application that will rely on the AWS API Gateway for a REST API. I want to make sure that other people are not able to read or write data on the endpoints. I will be using IAM authentication, using the steps below:
- Set up an example API
- Test that the API works without authorization
- Enable authorization on your endpoints
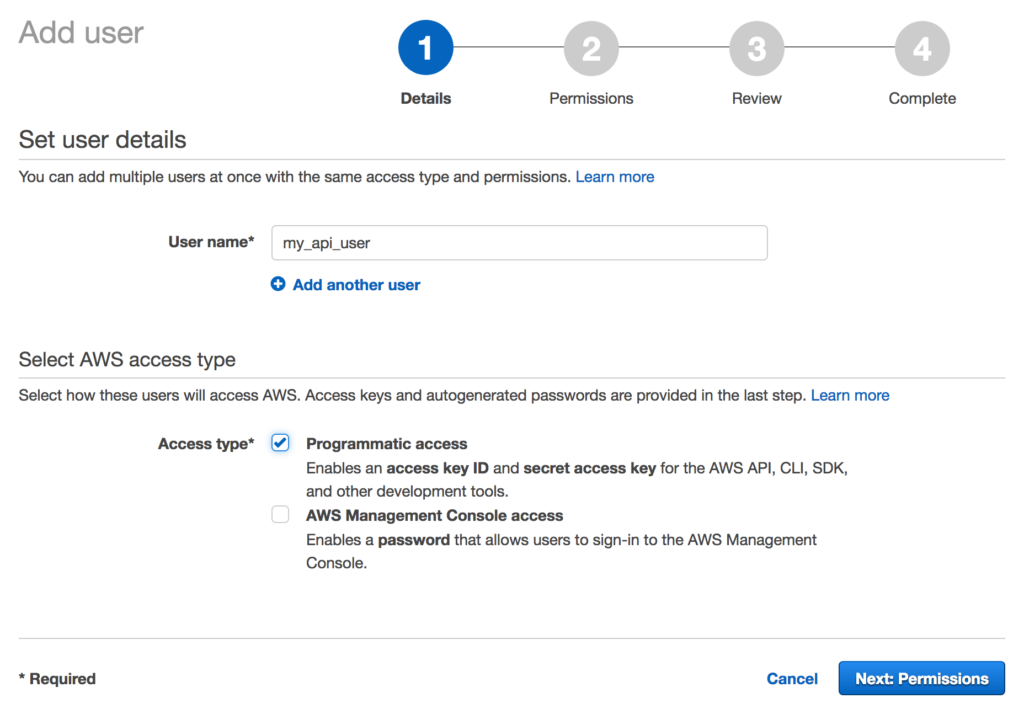
- Set up a new User in IAM for API requests
- Configure your request to use your credentials
Set up an example API
If you already have an API set up, skip this part.
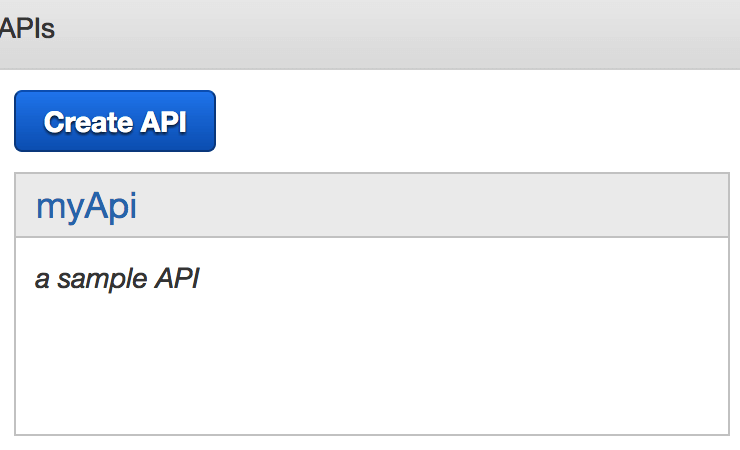
From API Gateway, select “Create API”.
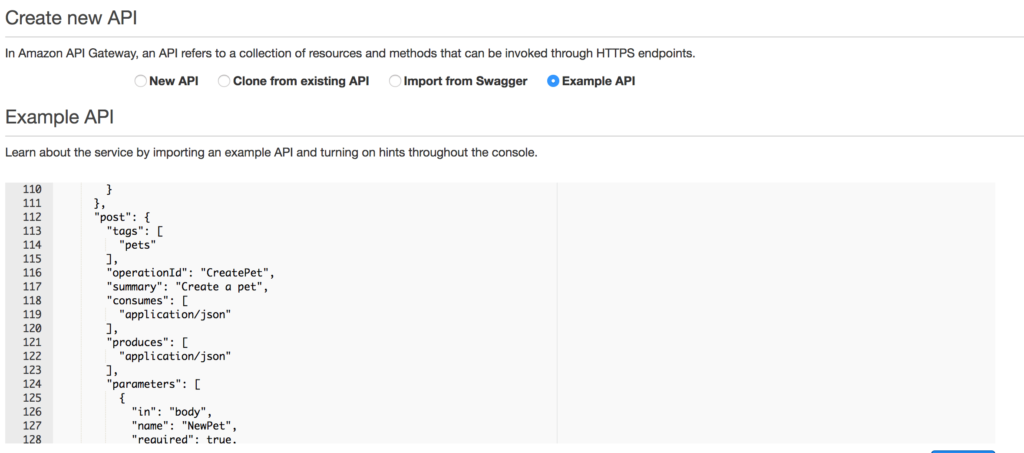
On the next screen select “Example API” and click “Import”.
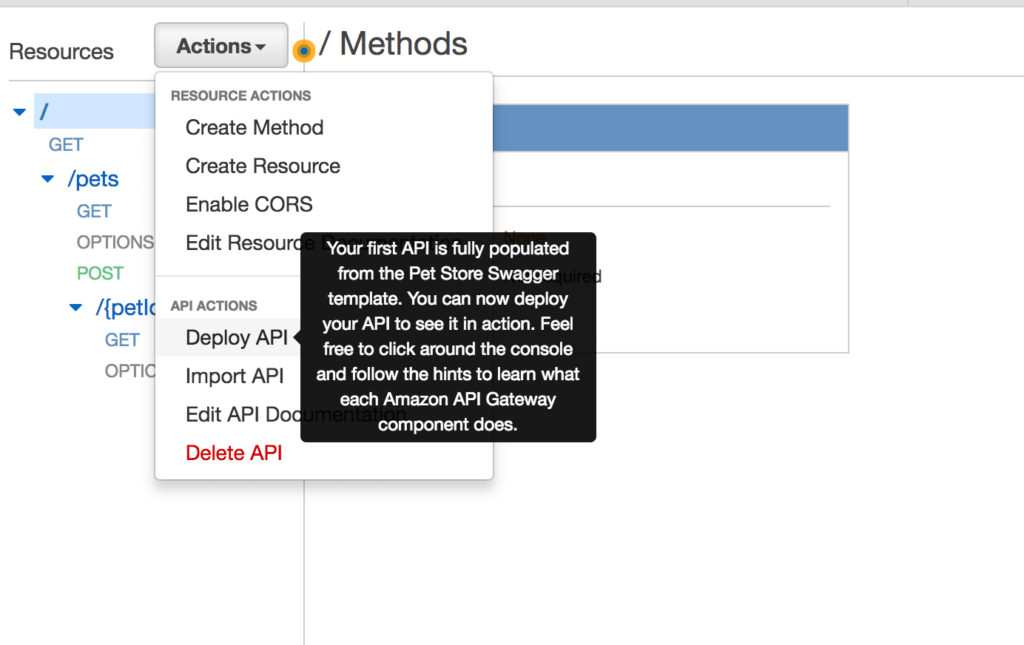
The UI will then prompt you to “Deploy API”, if it doesn’t, you can select the option from the “Actions” dropdown. You must provide a stage name for the deploy, I just used ‘test’.
After you have deployed the API, you should see a screen like this, that includes a link to the API.
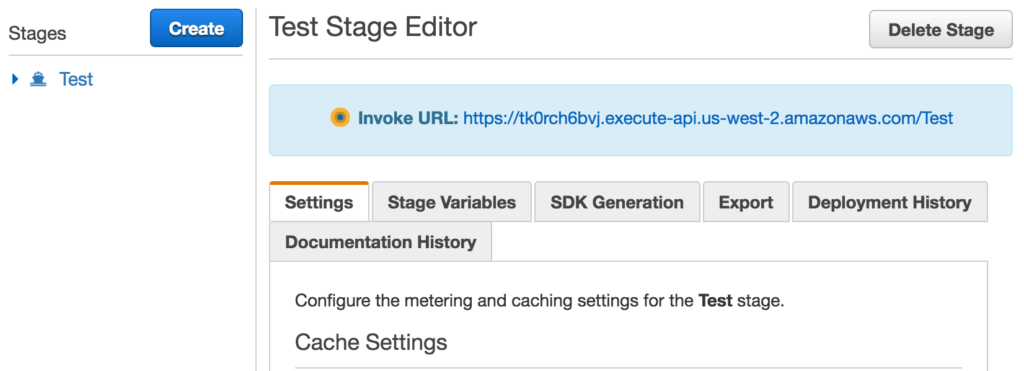
Click on the link and it will bring you to an info page. We will test the endpoint in the next step.
Test that the API works without auth
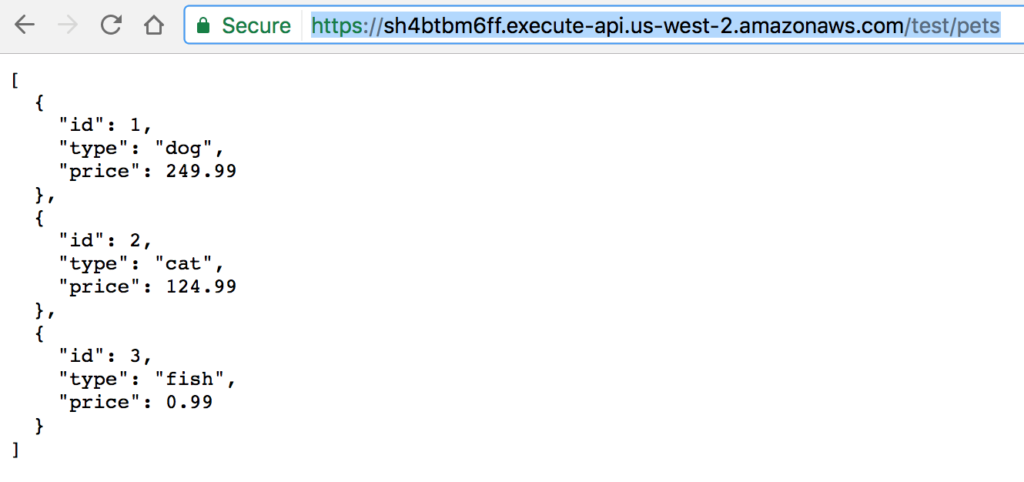
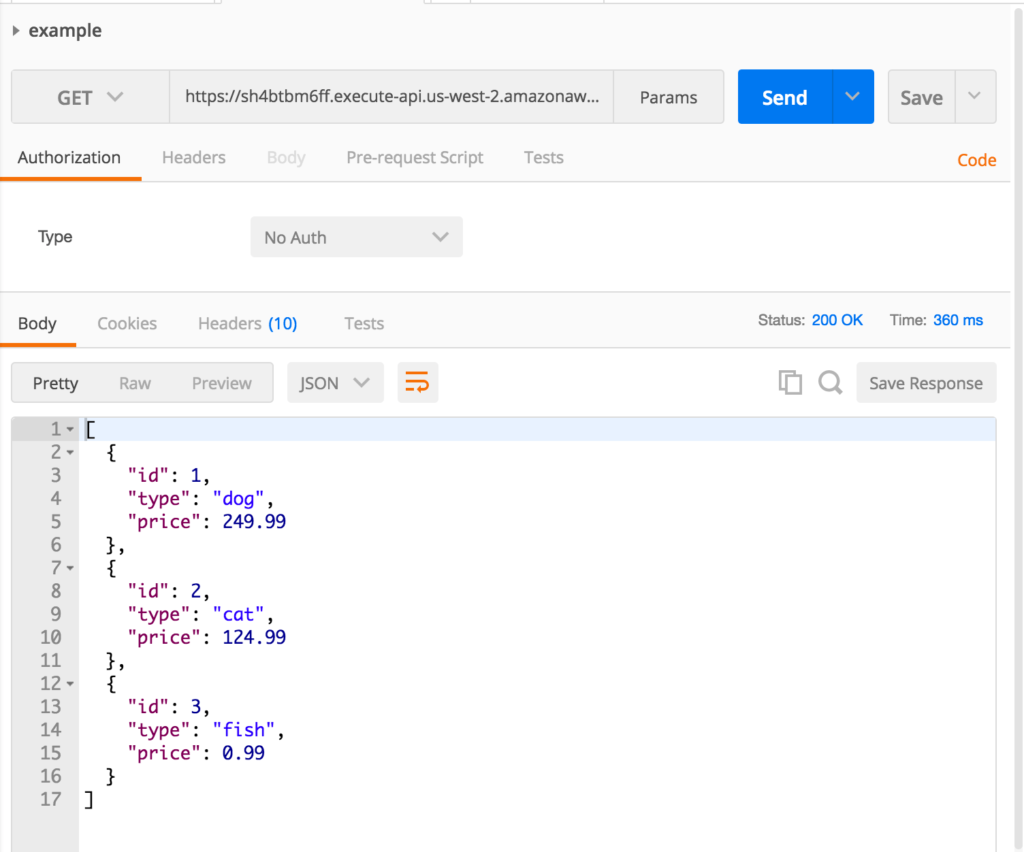
Now, make sure you can get to your endpoints without authentication. You can test the GET endpoint by appending ‘/pets’ to your url, either in a browser or with an application like Postman.
The browser output will look something like this:
The Postman output will look something like this:
Enable authorization on your endpoints
Now, let’s lock down the API so only we can get to it. In API gateway, select the /pets GET resource:
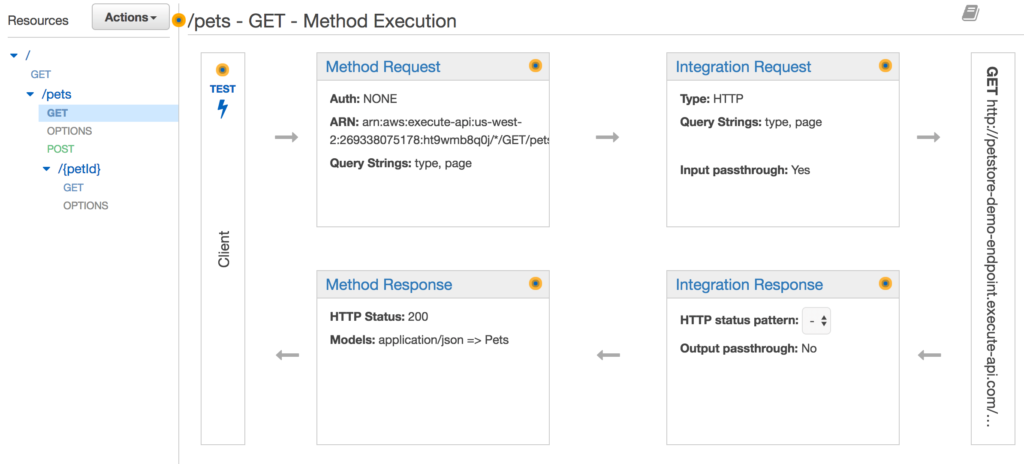
Then go to the configs for the Method Request and select ‘AWS_IAM’ under the Authorization setting.
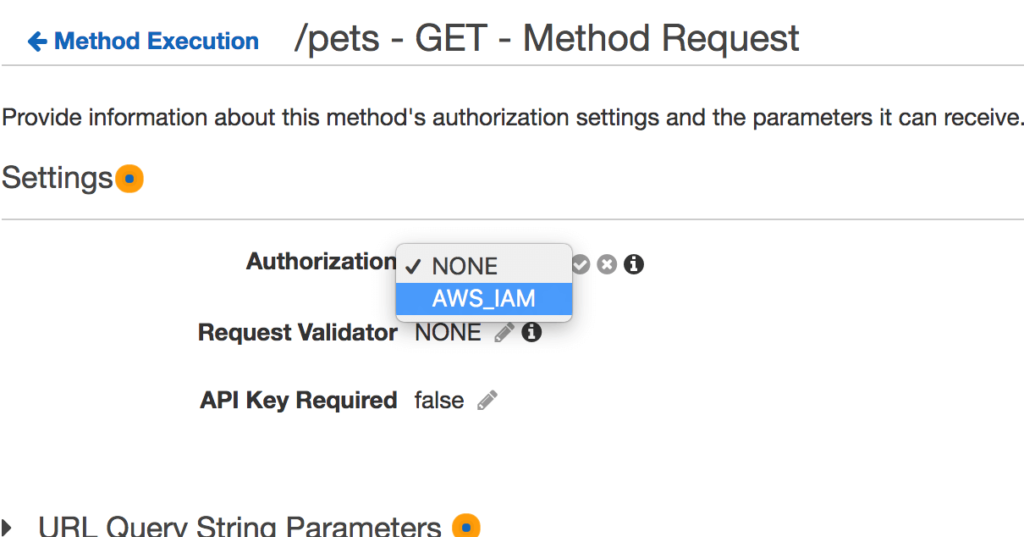
In order for the changes to take affect, you have to use the “Deploy API” action under the “Actions” dropdown. You can deploy over an existing stage, or create a new one.
Now when you try to hit the endpoint via the url, you should get this response
{"message":"Missing Authentication Token"}Set up new User in IAM for API requests
Go to your IAM setup and add a new group with the following permissions: AmazonAPIGatewayInvokeFullAccess
Set up a new user that is a part of the group you just created. You won’t need to log in as that user, so don’t set up a password.
On the last screen, the credentials will be provided, make sure you capture both the Access Key ID and the Secret access key, the secret key won’t be displayed again.
Configure your request to use your credentials
In order to get to our endpoint, we need to include authorization values in the header. These are calculated at the time of the request to make sure other people cannot just reuse your headers to gain access.
Here are the full instructions from Amazon, but Postman makes it pretty easy.
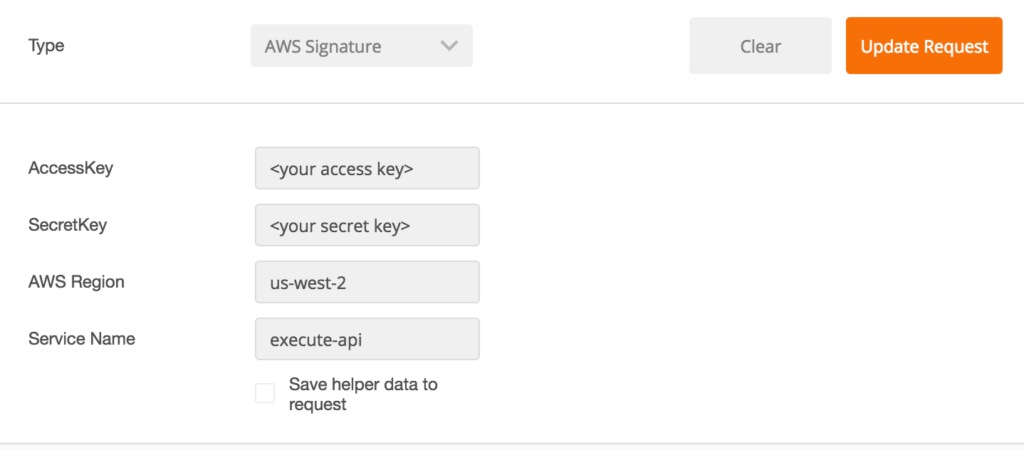
Under the “Authorization” tab, select “AWS Signature”
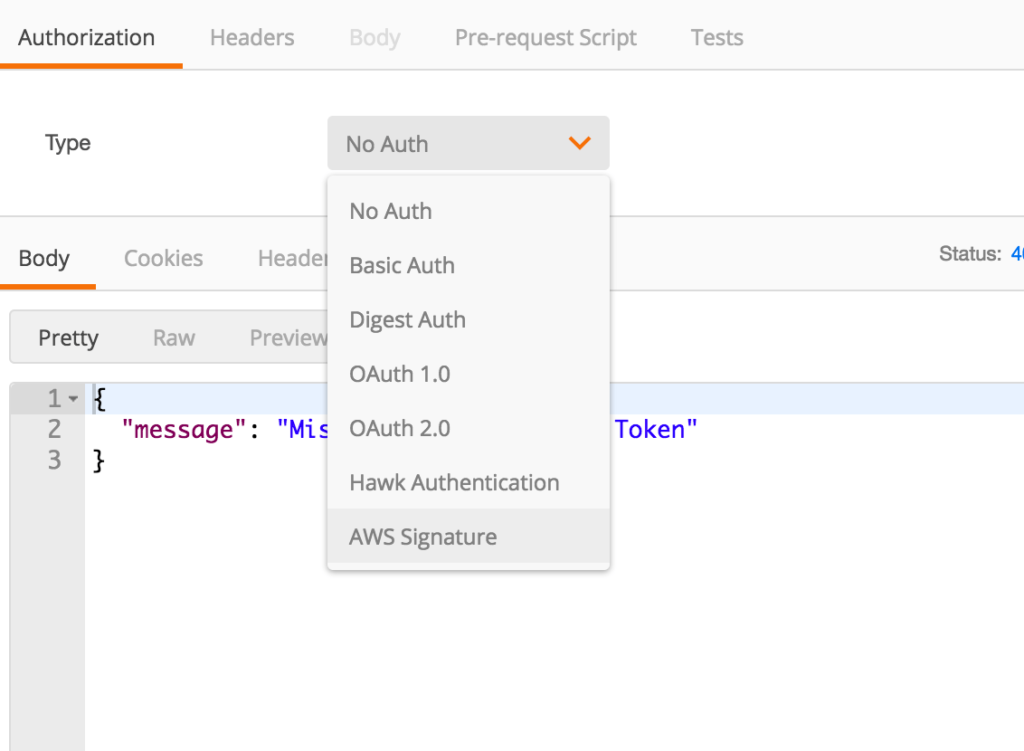
You will be taken to this screen where you can enter the configuration:
The configuration includes:
- AccessKey – This is the Access Key ID that we copied in the previous step, it is the shorter of the keys
- SecretKey – This is the “Secret Access Key” that was copied in the previous step, it is the longer of the keys. (It should never be shared)
- AWS Region – This is ‘us-west-2’ for me, but may be different for you
- Service Name – this should be ‘execute-api’
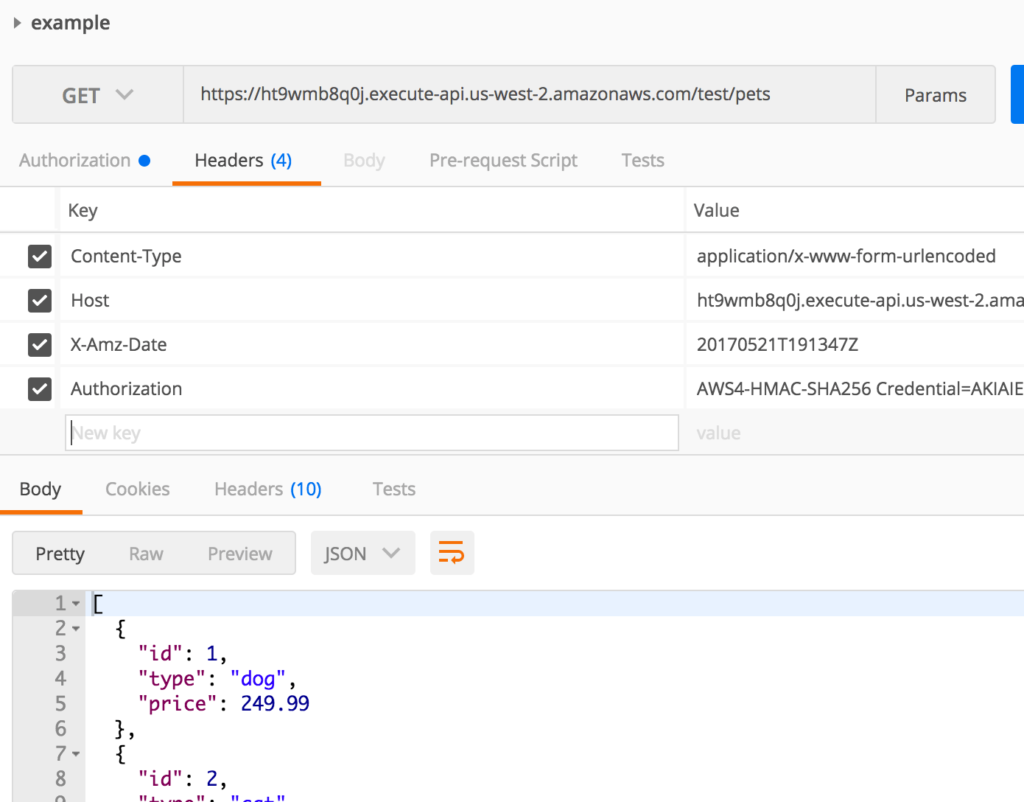
After you have entered the values, press “Update Request”. Now if you try to access the endpoint, you should get the data as before.
Check out the values that were included in the “Headers” tab. The X-Amz-Date and Authorization will change with each request and they are what Amazon verifies on their end to ensure you have up to date permissions.
Next Steps
In order to use the API from an application, you will need to systematically add the headers to your requests. I am using react-native-aws-signature for my React Native application.
